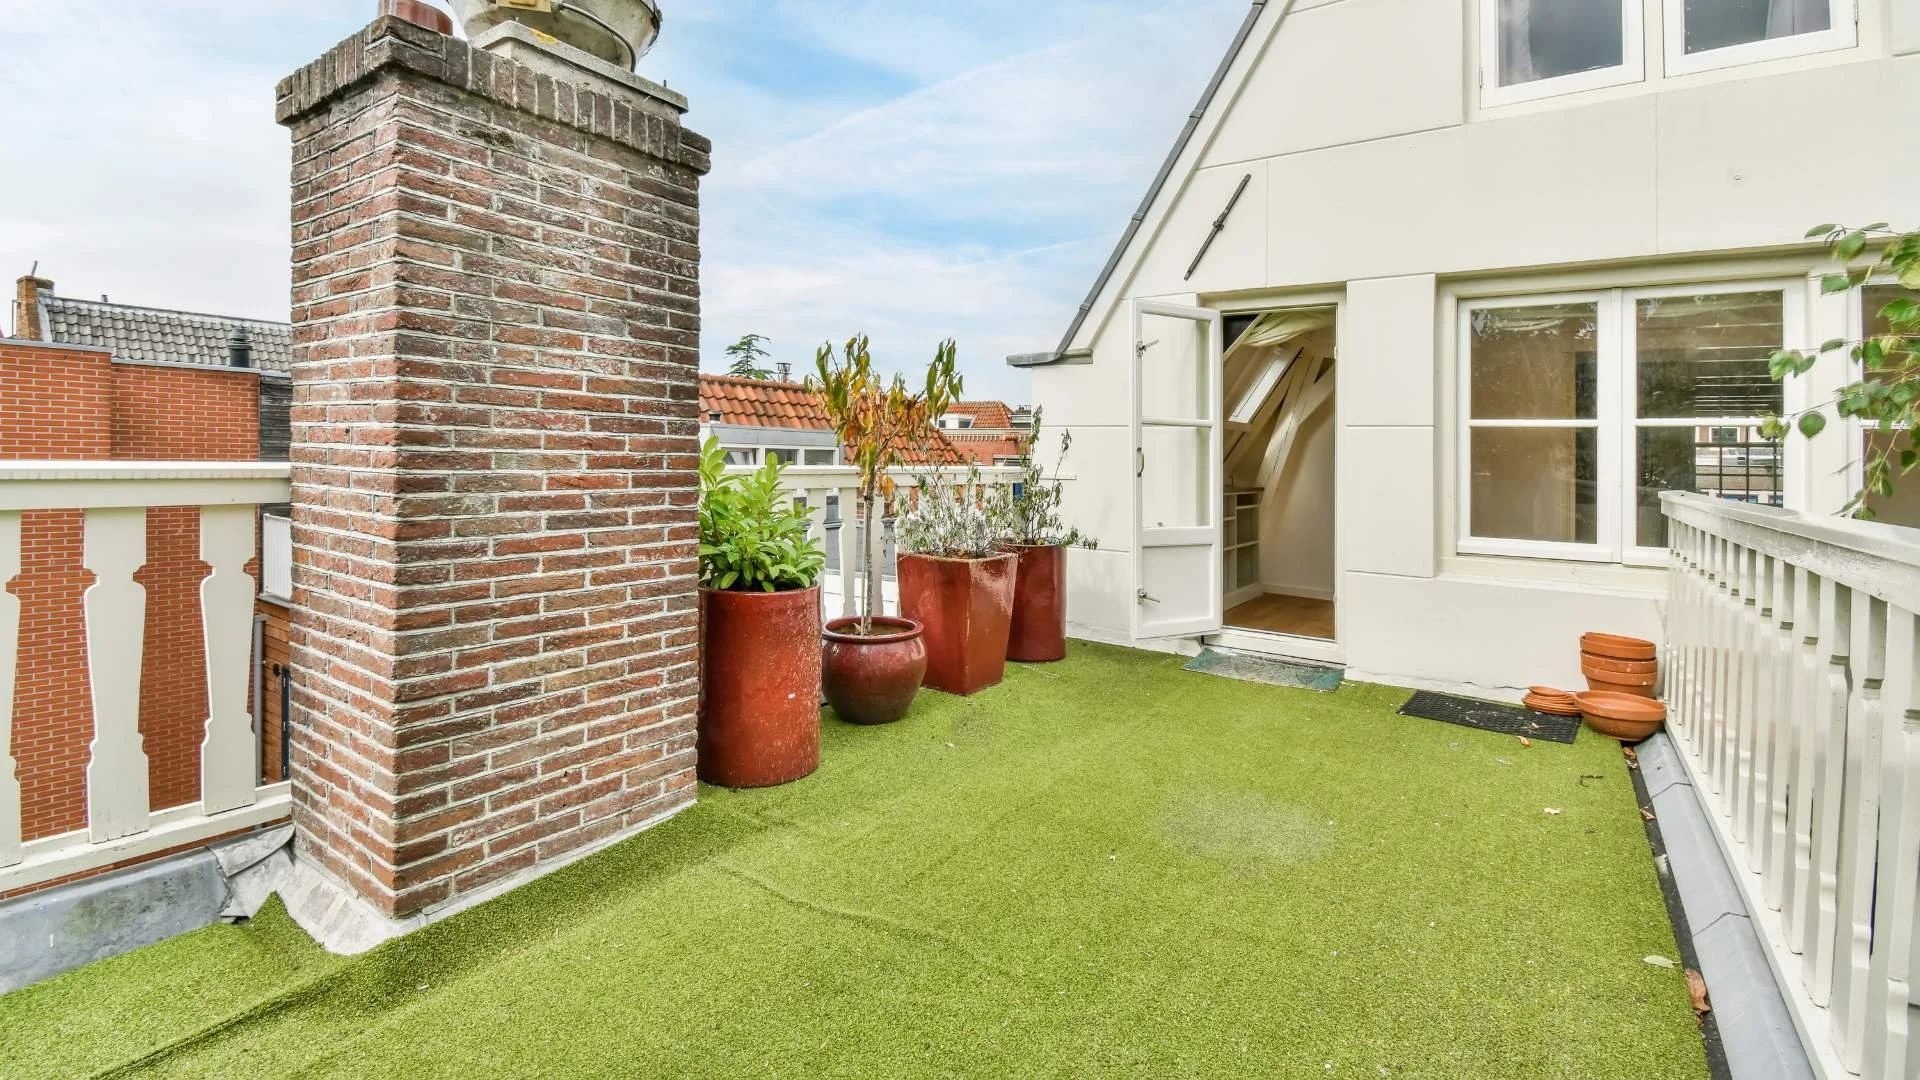
Installing artificial turf on your balcony, patio, or rooftop deck can transform your outdoor space into a lush, green oasis with minimal maintenance. The versatility of synthetic grass allows it to be laid on various surfaces, including concrete, which is common in urban dwellings. Before beginning, ensure the surface is clean to provide a stable foundation for your turf. This means removing any stains, mold, or debris using a cleaner designed for the specific surface, such as concrete, and scrubbing it down with a push broom to prepare for installation.
When installing turf, especially in areas like rooftops or balconies, it's essential to consider how it will interact with existing features, like doors. If your space includes sliding doors that don't open outward, the turf should not obstruct their movement. However, doors opening outward onto the area where turf will be installed may require additional clearance consideration to avoid creating a tripping hazard or impeding the door's function. Proper planning can ensure a seamless fit and safe use post-installation.
Securing the turf properly is also crucial, and there are several ways to achieve this without drilling or causing damage to the underlying surface. Options like using heavy furniture or specialty adhesives can provide stability to the artificial grass, ensuring it remains in place even without infill that could impede cleaning through vacuuming. Every detail, from material choice to securing methods, contributes to the long-term enjoyment and functionality of your new green space.
Planning and Design
When planning to install turf on your balcony, patio, or rooftop deck, it's imperative to assess the space, choose the appropriate materials, and understand the installation requirements to ensure enduring beauty and functionality.
Assessing Space and Accessibility
Measurements: Start by accurately measuring the area where you plan to install the turf. This step is crucial because it determines the amount of turf and other materials you will need. Consider not only the length and width but also any irregular shapes or contours.
Access: Evaluate the accessibility to your space. For rooftops, check for easy access via stairs or elevators as this will influence the feasibility and logistics of transporting materials. Ensure that door placement does not interfere with the turf, especially when the door swings outward.
Choosing the Right Artificial Turf Materials
Artificial Turf vs. Natural Grass: Decide if artificial turf is best for your outdoor space. Unlike natural grass, artificial turf is low maintenance and not affected by weather, offering a green space year-round.
Weight: Consider the weight of the artificial turf and its impact on your balcony or rooftop. Verify that your space can accommodate the additional weight without structural concerns.
Benefits: Keep in mind the benefits of artificial turf, such as cost savings on water and reduced maintenance over time.
HOA Rules: Check any homeowners’ association (HOA) rules concerning the use of artificial turf to ensure compliance with local regulations.
Design: Choose a design that complements your view and overall aesthetic. Landscape turf comes in various shades and textures to match your design preferences.
Understanding Installation Requirements
Functionality: Ensure the design allows for proper drainage to prevent water pooling, which is important for maintaining the functionality and longevity of both the artificial turf and your space.
Weather: Take into account the local weather conditions. Certain materials may be better suited to withstand extreme temperatures or prolonged exposure to sunlight.
Maintenance: Understand the maintenance requirements of your selected turf. While artificial turf typically requires less upkeep than natural grass, occasional cleaning and brushing are necessary to keep it looking its best.
Installation Process
Installing artificial turf on your balcony, patio, or rooftop deck can be a gratifying experience. It's vital to follow a systematic approach to ensure proper drainage, secure the turf, and achieve a polished look with minimal maintenance requirements.
Preparing the Installation Surface
Before laying synthetic turf, the base surface must be clean and stable. For concrete surfaces such as balconies and rooftops:
Thoroughly Clean: Remove any stains, mold, or debris with a cleaner designed for concrete and a power broom or push broom.
Ensure Drainage: Install a drainage system if one isn't present. Options such as a drain core, perforated tile, or even an air drain could be used to promote proper drainage and prevent water accumulation.
Apply Waterproofing: For rooftop decks, apply a waterproof membrane to protect the building's structure against water infiltration.
Securing the Turf and Adding Infill
Once the surface is ready:
Roll Out the Turf: Carefully lay out the turf, ensuring it's flat without wrinkles or folds.
Secure the Turf: Attach the synthetic turf using glue or adhesive around the perimeter and at seams. Alternatively, you might also use staples if applicable.
Align Seams: Ensure the seams between turf pieces are tight and barely visible for a uniform appearance.
Add Infill: Distribute sand infill or antibacterial infill evenly, which will add weight to the turf, help with drainage, and keep the artificial grass blades standing upright. Note that vacuuming isn't suitable for turf with infill.
Finishing Touches and Maintenance Tips
Finalize your DIY turf installation with these steps:
Brush the Turf: Use a stiff-bristled broom to brush the turf, helping the blades to stand and evenly spreading the infill.
Trim Edges: Trim excess turf from the edges for a clean finish that fits your space precisely.
Maintenance: For easy cleaning, periodically use a leaf blower to remove debris. Hose down as needed to manage dirt and residue. A professional installation may offer enhanced durability, but regular maintenance can keep your DIY installation looking fresh.
By following these steps, your artificial grass installation not only looks professional but also stands the test of time as a low-maintenance, durable outdoor enhancement.

